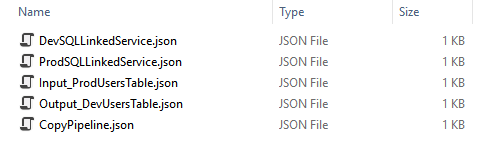
In the previous blog, we have prepared 3 basic things that enough for Data Factory can work on. Now I will continue with deploying them to Data Factory through Azure portal.
Create Data Factory
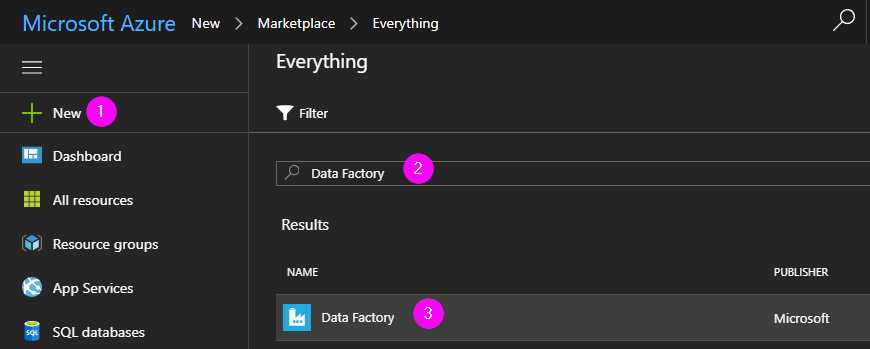
After logged in to Azure portal, just following steps to create new Data Factory
In the create popup, fill in the information and click to Create
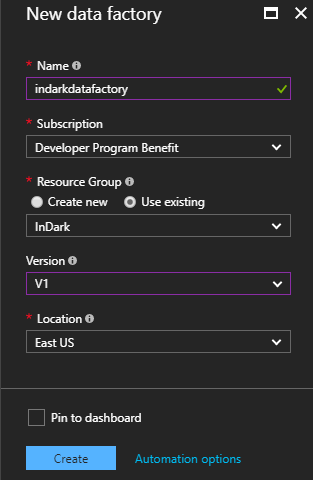
And we have it created.

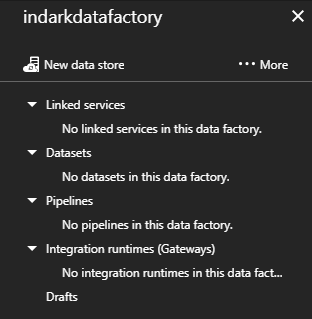
Click to the action Author and deploy` to go to deployment editor with nothing here yet.
Deploy Data Factory Resources
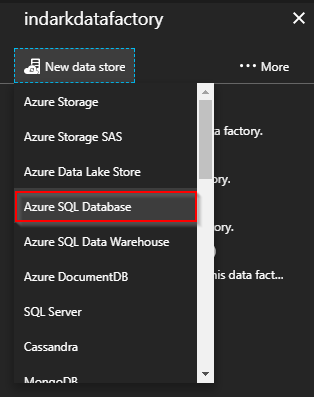
To create a Linked service, click to New data store and select a type of service. In this case, I will choose Azure SQL Database
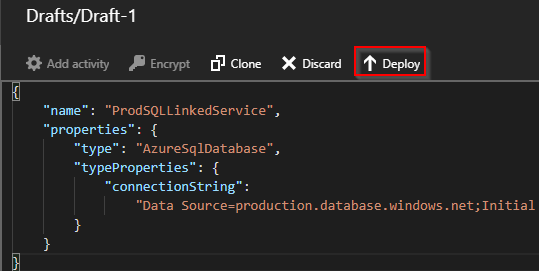
Now, the editor will show the template for AzureSqlLinkedService, but we have it already, just copy the prepared json in ProdSQLLinkedService.json file to editor and click Deploy
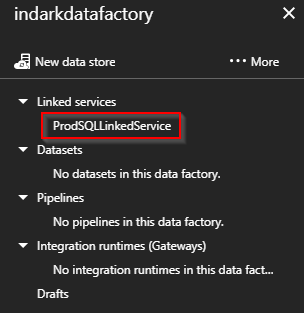
When it’s deployed successfully, we will see it in Linked services list
Just following 3 steps to deploy other resources
- Select correct type of resource, click to
... Moreto select dataset or pipeline - Copy the prepared json to editor
- Click to
Deployand check the resource on resources list
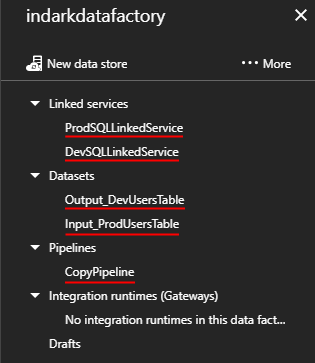
After deployed everything, we will see something like this
Data Factory Resource Explorer
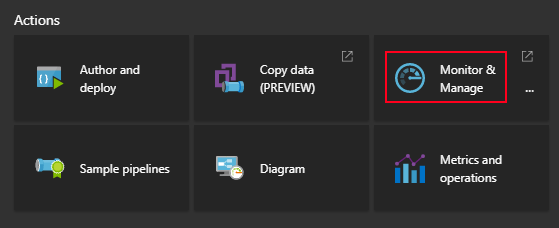
Click to Monitor & Manage at Data factory information screen
Now we are in the Data Factory’s resource explorer to verify our task is set up correctly, and check the running activity status as well.
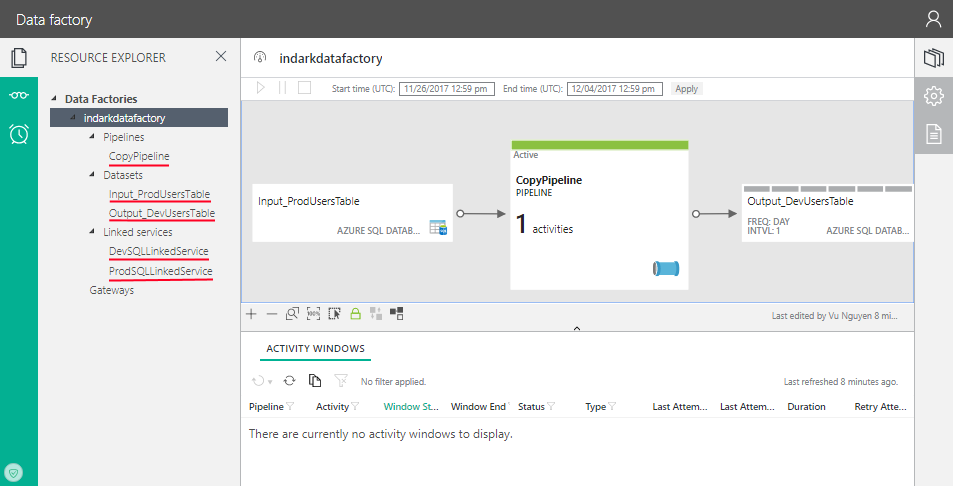
To rerun an failed activity or just for debug if you have a change on the resources, use Rerun button on an activity.
