The VS installer extension is very old, out-dated and obsoleted by Microsoft but it’s still the quick and simple way to create an installer for any project. Since I just finished the task relates to it and have to fixed few (or a lot… 😂) issues so this guide is the notes for them.
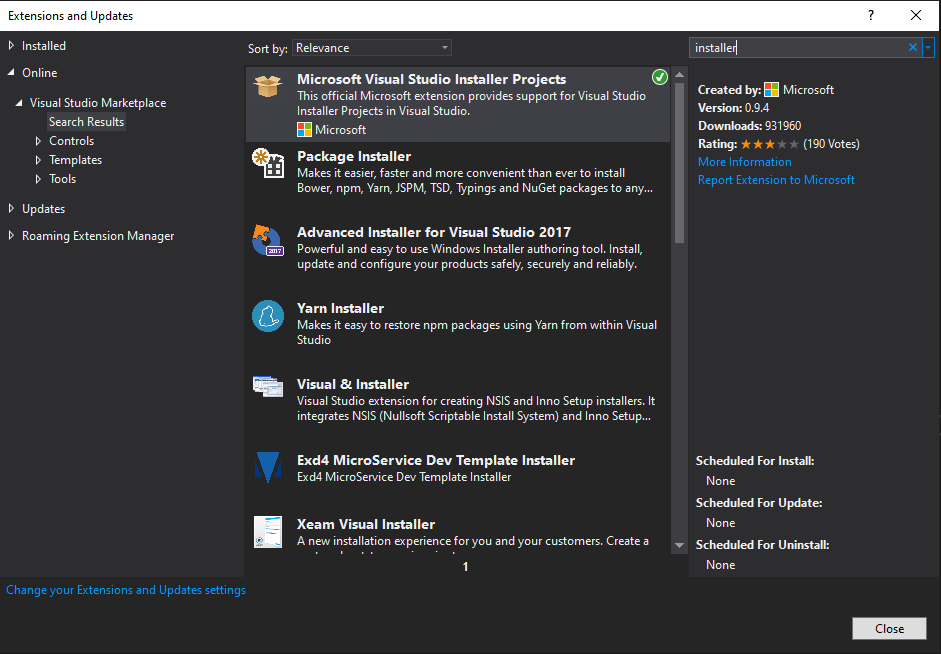
Install Visual Studio Installer extension
Open Visual Studio -> Tools -> Extensions and Updates -> Online and search for installer
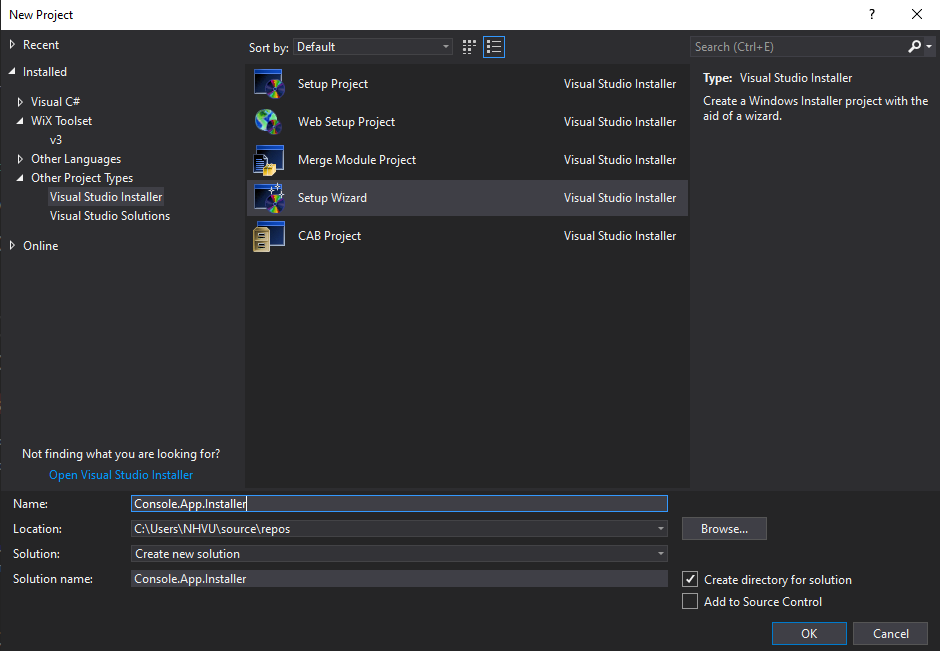
Create Installer project for Windows application
Open Visual Studio -> File -> New Project -> Other Project Types -> Visual Studio Installer -> Setup Wizard
Click Next and select Project type suits to your application type, mine is Windows application so I choose Create a setup for a Windows Application
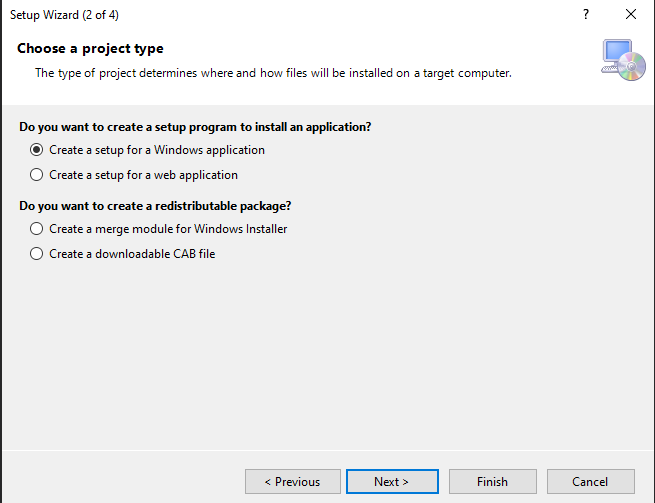
Click Next and in the step Choose files to include, we can add any optional files (readme, changelogs…) here. After that, click Finish to create the project
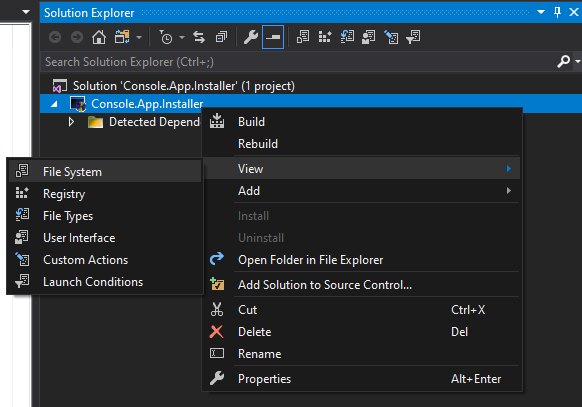
Add application output to Installer
In the Installer project, right click to project name -> View -> File System
In the File System on Target Machine -> Application Folder -> Add -> Project Output and select application project, it will automatically add all files in bin folder of your project build to the installer and it will copy them to the application folder while installing.
Create custom dialog to allow user edit configuration variables
The example is we would like to let user update the connection string of a SQL server database, it requires user to fill a database connection string (we assume that user know how to get it ✌)
Since it’s a complex process so I separate it to few small steps below
Create custom dialog to get input values from user
Right click to Installer Project -> View -> User Interface
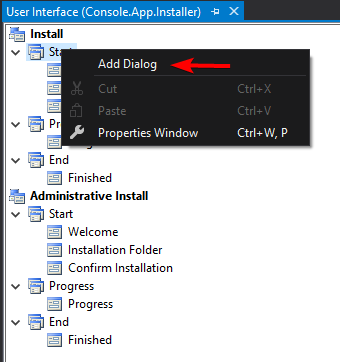
In the Install section, right click to Start -> Add Dialog
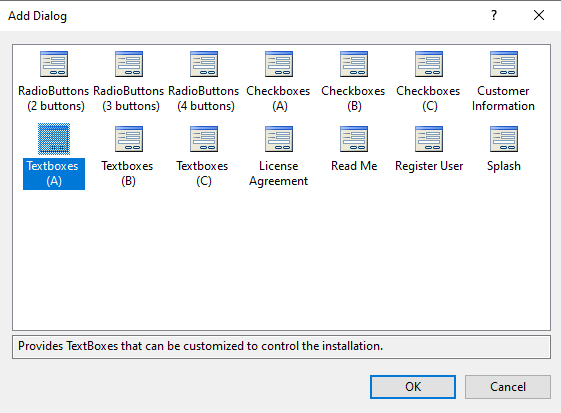
In the Add Dialog popup, choose a suitable dialog for your requirement, I will pick the Textboxes (A) since we need to get input string only
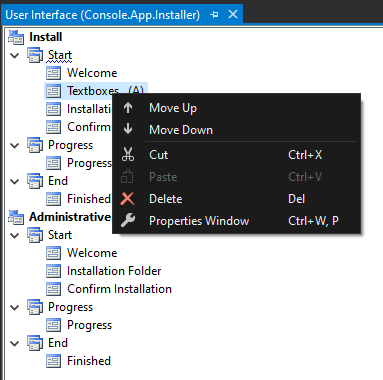
The Textboxes (A) will appear at the end of dialogs list, we have to move it to before Installation Folder dialog (and after Welcome dialog). Otherwise we will get an error during build process.
Customize the custom dialog
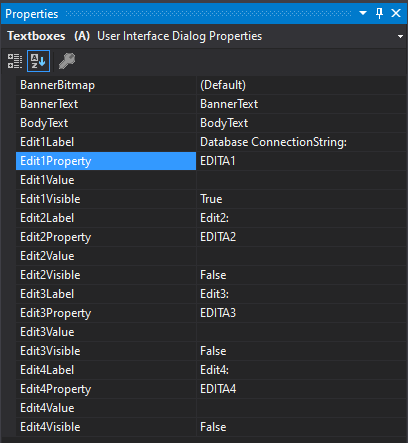
Right click to the Textboxes (A) and select Properties Windows to open Properties windows.
In Properties windows, we disable all textboxes except the first one (that use for user inputing the connection string) by set the Edit2Visible, Edit3Visible and Edit4Visible to False.
We change the Edit1Label to Database ConnectionString to make sure user know what’s value to input.
You can change the value of Edit1Property property to anything but I just let it as default (EDITA1) and remember to use it later.
This is the final custom dialog in installation process.

Create new custom action project
Since the Visual Studio Installer only helps with the custom dialogs or custom actions during installation. We have to create a custom action (library) project to make a simple code to get the user input and update the App.config.
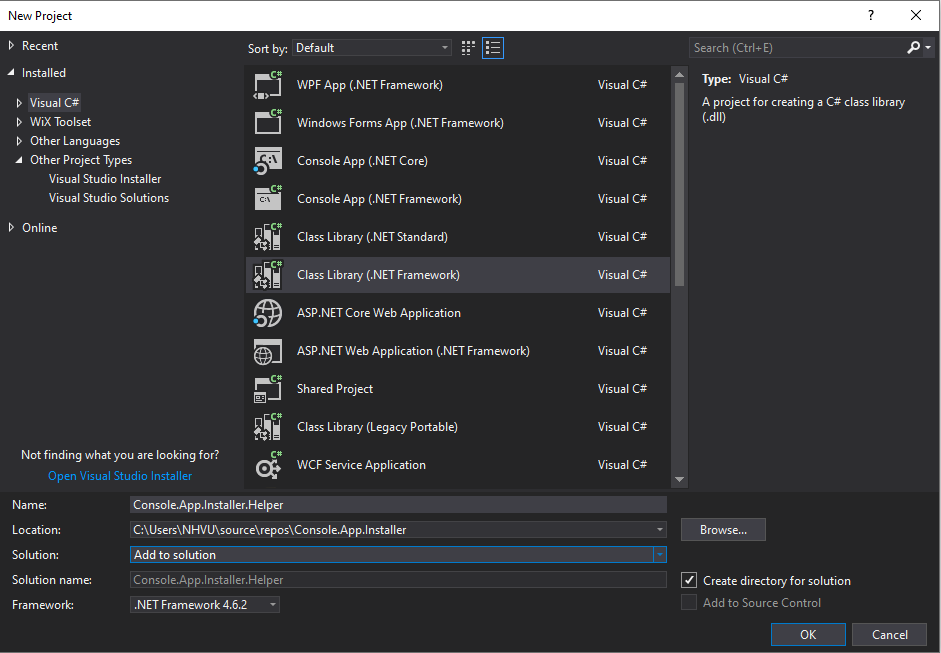
In Visual Studio -> File -> New Project -> Class Library (.NET Framework)
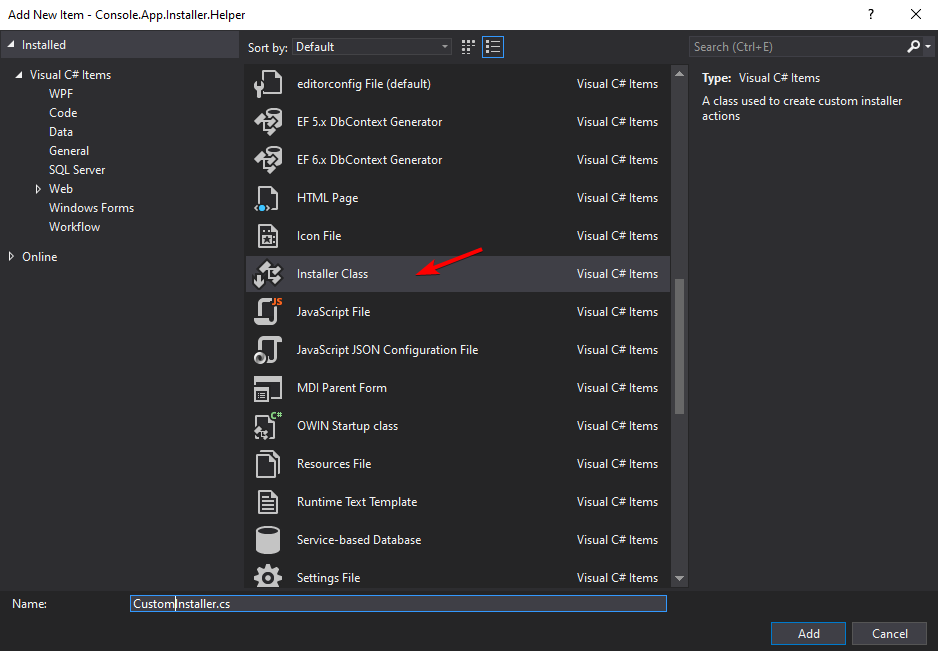
Add new Installer Class item
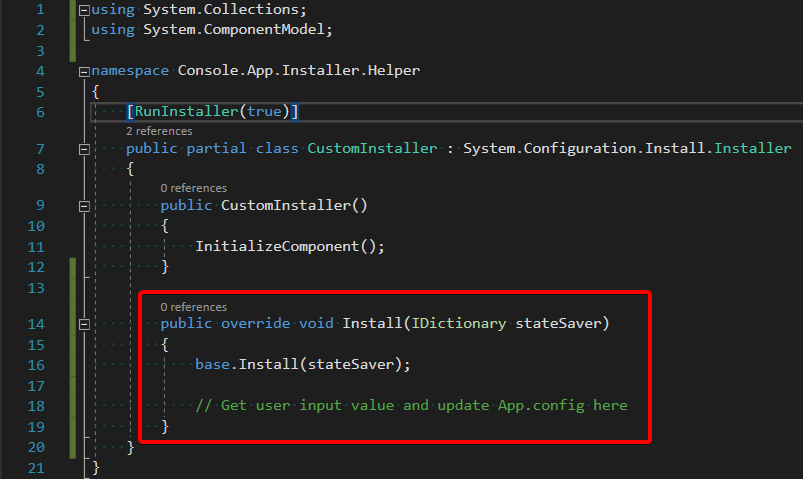
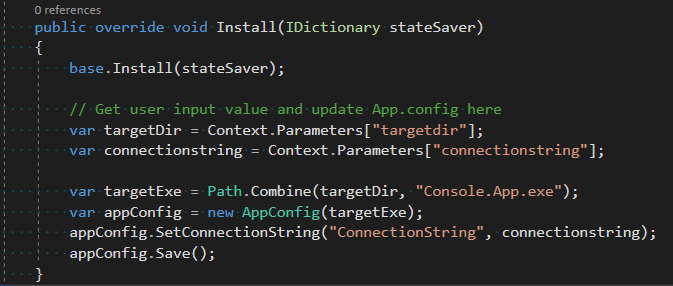
In the new CustomInstaller class, we add the override Install function likes this
Add the custom action project to Installer project
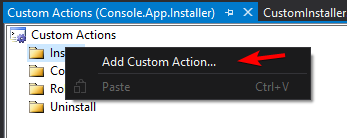
Right click to installer Project Name -> View -> Custom Actions -> Install -> Add Custom Action…
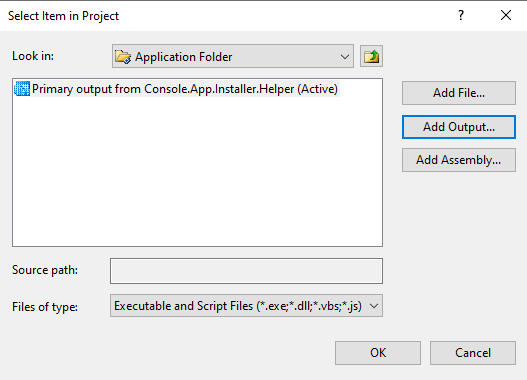
Select Application Folder -> Add Output… -> Primary output from custom action project name
Now, the code in Install function will be run during install process. If you want to do the custom action during uninstall process, do the same step 3 and 4 but change to override the Uninstall function and add the primary output to Uninstall section.
Update custom action data with user input and default installation data
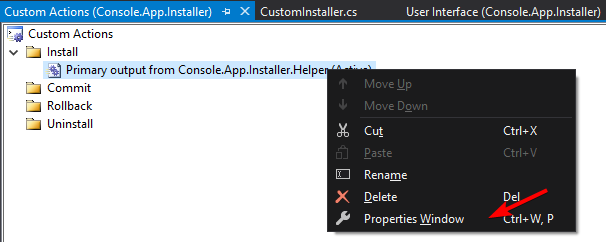
Right click to the Primary output from custom action project name we just added to Custom Actions in step 4 and select Properties Windows to open Properties windows
In the Properties windows, fill the CustomActionData with values as below
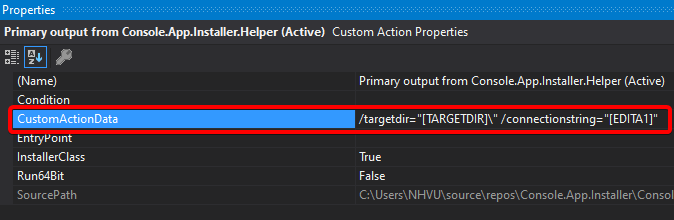
- The [TARGETDIR]\ is a default parameter of VS Installer, it will pass the application directory that user selects in Installation Folder dialog during install process.
- The [EDITA1] is the value of the Edit1Property input in custom dialog created in step 2.
- The keys targetdir and connectionstring will be passed to Context.Parameters so we can retrieve them in codes in next step.
Retrieve user input in code
Update the code in Install function with below to get the custom data
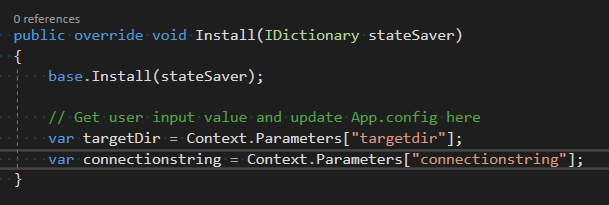
Now we can update the connection string to app.config with the user filled value during install process.
The sample codes could be found here Console.App.Installer.